|
You can create email addresses with your own domain name in Proton Mail, such as yourname@yourdomain.com, to send and receive messages. To use a custom domain with Proton Mail, you must have both: Once you have a custom domain and a Proton Mail subscription, the next steps are to connect your custom domain to your Proton Mail account and add users and email addresses to your account. Below we provide instructions to complete each of these steps. Note to organizations migrating multiple users to Proton Mail: Please create corresponding email addresses on Proton Mail before changing the MX records. This can prevent losing emails during the migration. Add DNS records from Proton Mail to your domain provider’s DNS consoleNote: If your domain’s nameservers are set to a service other than your domain registrar’s, you’ll need to update the DNS records through that service’s console (not through your registrar’s console). 1. Log in to your DNS console (located on the platform where you purchased the custom domain).
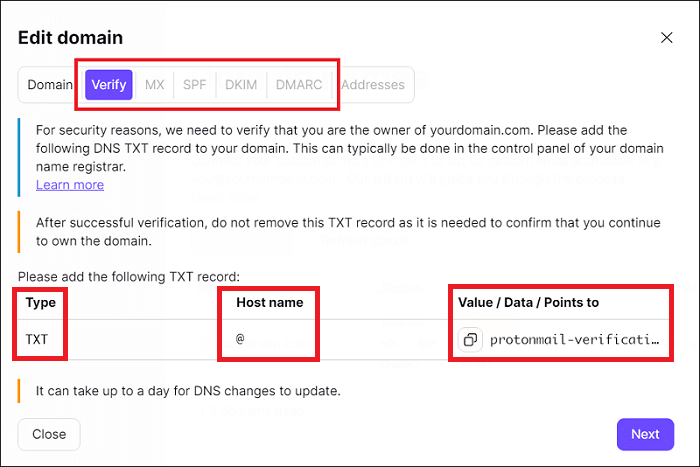
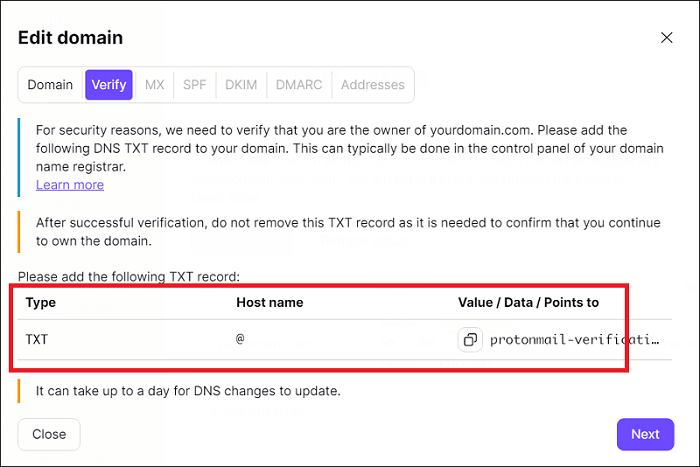
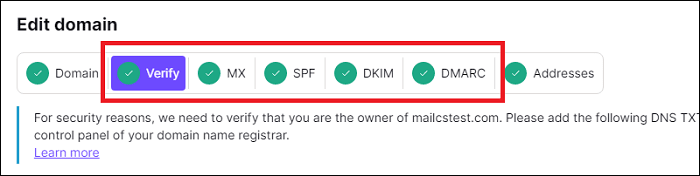
Here’s an example: In the Proton tab Verify, the record Type is TXT, the Host name is @, and the DNS Value is protonmail-verification=xxx.
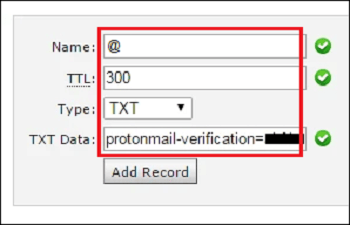
This means you must create a new DNS record in your DNS console. Select the record type TXT. Enter the character @ in the host name field and paste the value protonmail-verification=xxx into the value field. If your DNS console doesn’t accept @ as the host name, you can try to leave the host name field empty. Some providers might require entering the full domain name instead of “@”, or leaving the field empty.
Please note that domain providers sometimes have different or additional options. Here are some helpful tips: If the TTL field is available in your DNS console, you can set the value to 300 (it means the old DNS settings will be updated every five minutes). If your DNS console doesn’t accept the host name @, you can leave the host name field empty. If your DNS console doesn’t allow CNAME values to end with a dot, you can remove the last dot in the CNAME values.
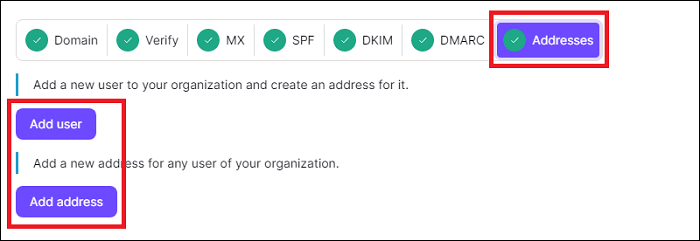
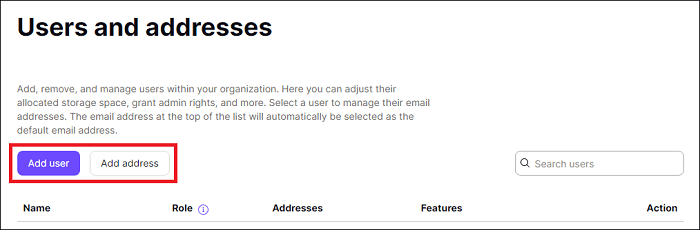
In the last step of the setup process, you can create new users for your custom domain or new addresses for existing users.
Name Email address Password and confirm password Key strength (the default option is best for most people, but you may choose Compatibility if you’ve encountered a compatibility issue for PGP encrypted emails) Account storage
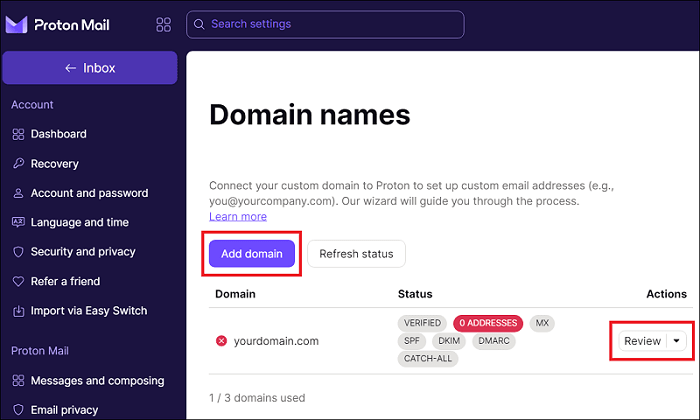
4. Congratulations! You’ve set up your custom domain in Proton Mail. It’s a good idea to double check your settings by going to the Domain names settings page and clicking Review to make sure all your DNS records have been verified. How to set up an organization in Proton MailStep 1: Set up your custom domain(s) (you are here) Step 2: Create your organization Step 3: Add new users to your organization Step 4: Migrate your existing email messages to Proton Mail (责任编辑:) |